
Portrait · 9 min read
A custom portrait - how to order and what to prepare
A step-by-step guide through the process of ordering a portrait. Which photos to send, how to describe your vision, how long it takes. Everything you need to know before getting in touch.
· Anna Karwala
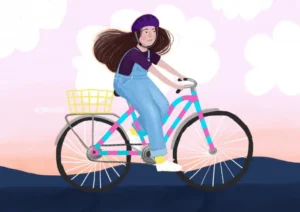
Ordering a portrait for the first time may seem complicated, but in practice it’s a simple process. In this post I show step by step how it works in my studio - what to prepare, what to think through and what to expect. The more we settle at the start, the sooner we begin and the smaller the risk that the finished work surprises you in an unpleasant way.
Step 1 - First, the photo
This is the most important stage. The quality of the portrait depends largely on the quality of the source photos. The photo should be sharp, clear, well-lit, ideally taken from about a metre away. This is crucial - close-up phone shots distort the features of the face, a long lens flattens them, and badly lit photos don’t let you see the details a portrait is built on.
What I look for in photos
- Sharp, well-lit photos - no blur, no deep shadow
- A photo from about a metre away - closer phone shots distort proportions
- Natural daylight - ceiling lamps throw unpleasant shadows, neon lamps change the skin colour
- The face at a good angle - slightly to the side or front-on, not from an extreme low or high angle
What to send
- One main photo that the portrait is based on
- A few extras for reference to detail (hair colour, eyes, a characteristic gesture, jewellery)
- Photos of the animal in different poses (if it’s a pet portrait)
Better to send five good-quality photos than fifty from various occasions. Less is more. If you send me sixty photos and write “pick whichever”, you’re shifting onto me a decision I shouldn’t be making - because you know the person being portrayed, and I don’t.
Step 2 - Choose a style
Before you write, it’s worth knowing what direction you want to go in. With me there are three main styles to choose from:
- Realistic - a faithful rendering with care for detail, based on a single photo with refined light and background
- Semi-realistic (half-realistic) - recognisable but with artistic freedom, allowing subtle stylisation of the features and a change of setting
- Illustrative - character expressed through selected features, a simple line and a chosen palette
You don’t need to know the terminology. It’s enough to look at my portfolio on Instagram and point out the works you like. From that I’ll work out the style worth using. I also discuss the three main styles on the custom portraits page.
Step 3 - A word on techniques
I work mainly in three techniques:
- Watercolour - a traditional medium that allows both a realistic and a stylised approach, gives delicacy and luminosity
- Digital painting - digital brushes in Procreate on a graphics tablet, easy corrections, the client gets a high-quality file and print
- Ceramics and porcelain - above all mugs, waterproof and durable, especially suited to the illustrative style
Each technique has its advantages and limitations. Watercolour gives an “original” but is harder to correct. Digital work gives freedom and repeatability but lacks physicality. Ceramics is a different category - an everyday gift instead of a portrait for the wall.
Step 4 - Describe what you want
In a short message it’s worth writing:
- Who the portrait is for (for yourself, a gift, what occasion)
- Which style (a link to a specific work from the portfolio, if you have one)
- In what format (for print, for the wall, on a mug, a digital file)
- By when (a fixed or flexible deadline)
- What matters most (likeness, mood, a specific detail)
- The person’s character in three words - “warm, a mum, loves cats” or “wild, funny, loves cycling”
The more specific you are, the fewer rounds of questions I have for you and the sooner we start. If “just make it nice” is the only brief, I give myself too much freedom - and then something may come out that isn’t “yours”.
Step 5 - Quote and approval
After reviewing the photos and the description, I send you a quote. It’s an individual quote, because it depends on:
- The format of the work
- The level of detail
- The number of people in the portrait
- The chosen technique
- Whether you need a print, a frame, shipping
If the quote suits you, we settle the deadline and payment method (usually a 30% deposit to start, the rest before shipping). After the deposit is paid, I begin work.
Step 6 - The idea and the sketch to approve
Before I start painting the “clean” version, I send you a composition sketch. This is the moment when you have the right to say:
- “The position of the head doesn’t work for me, can we do it differently?”
- “Can we change the background to something lighter?”
- “The detail in the left hand - I want him holding a flower instead of a book”
- “Maybe more to the right? Shift the face over?”
The sketch contains all the key elements: the pose, the composition, the main colours, the layout of the background. It’s better to change the composition at the sketch stage than on the final work. After the sketch is approved, big changes become problematic - I can refine the colour, add a detail, but shifting the figure by half a frame is practically a new piece of work.
Step 7 - The work
I paint digitally, in Procreate on a graphics tablet. This lets me work on detail, try different colour variants, step back if something isn’t working. The client doesn’t watch me while I work, but knows the thing is taking shape - from time to time I show progress, so it’s clear I’m in the middle of it.
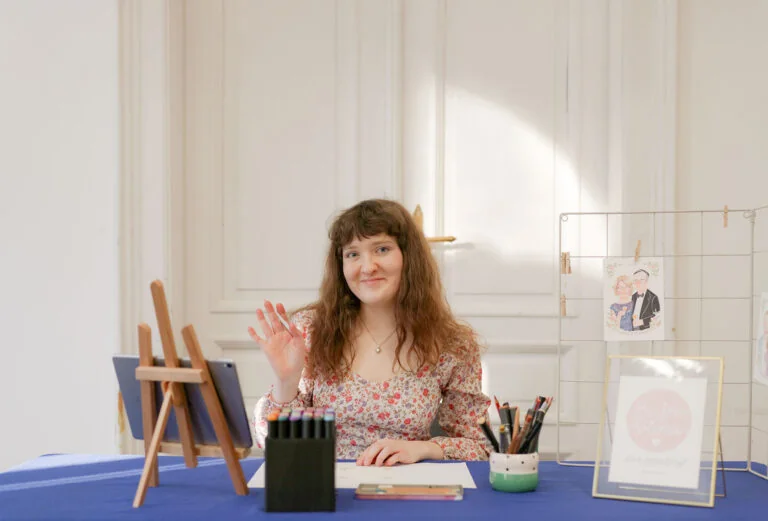
The work usually takes from two to four weeks from sketch approval, depending on the level of detail and how booked up I am. In the holiday season (November-December) it’s better to book well ahead - before Christmas I order at least two months in advance.
Step 8 - Final approval and printing
When the work is ready, I send it to you in low resolution for preview. This is the place for small corrections - not for changing the whole composition, but for “a slightly warmer skin tone”, “a bit more glint in the eyes”, “maybe let’s raise the background contrast”.
After approval, I send a high-quality file for printing or handle the printing myself - depending on what we agreed. If you ordered a mug with the portrait or a greeting card, I send the finished product by post.
The most common mistakes clients make
From my practice, the same slip-ups come up most often:
- Close-up phone photos - they distort the features, are hard to work from, the face comes out “stretched”
- No specific brief - “just make it nice” gives me too much freedom
- Ordering a week before the occasion - a good portrait takes time, you can’t rush it
- Sending fifty photos with “pick whichever” - that’s shifting the decision onto the artist
- No communication during the work - if I send you a sketch and you don’t reply for a week, the work stalls
- Changing your mind after the fact - “maybe a different style after all?” once the sketch is approved is a problem
What you get at the end
Depending on the order:
- A high-quality digital file for printing (TIFF, PNG, JPG)
- A fine-art print on art paper
- A mug with the portrait, ready to use
- A greeting card with a smaller portrait, as a supplement to the gift
- A framed print - “straight onto the wall”
Everything with a licence for personal use. For commercial licences (publication, advertising, mass printing) we discuss it separately - that’s a different contract and a different quote.
A few things worth knowing at the end
A portrait isn’t off-the-shelf shopping. It’s a process you have to enter with a specific idea in mind or a readiness to talk. The more you give me to work with - good photos, a clear brief, specific references - the greater the chance the finished portrait will delight you, not merely satisfy you.
And one more thing - a portrait is made “with you”, not “for you”. That means that during the work I’ll ask you about things you have to answer. This isn’t work you can “commission and forget”. But that’s exactly why the end result has something in it that an off-the-shelf product can’t give.
Want to commission a portrait? Write to me - I reply within 48 hours.
More in portrait
All portrait →
Portrait
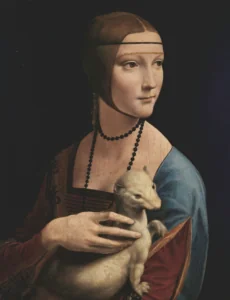
Famous artists who painted animals - the tradition of the animal portrait
George Stubbs, Rosa Bonheur, Sir Edwin Landseer - the artists who shaped the tradition of portraying animals. How their work inspires today's pet portraits.
Portrait
Animal portraits across cultures - symbolism and meaning
Lions in Egyptian art, dragons in Chinese, stags in medieval heraldry. How different cultures portrayed animals and what it tells us about their meaning.
Portrait
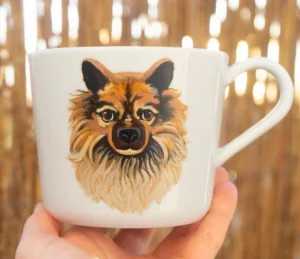
Animal portraits - the most popular techniques
Oil, watercolour, digital art - which technique to choose for a pet portrait? A comparison of techniques from the perspective of an artist who works with animal portraits.
Start a project
Got a project? Let's talk.
I make art that stays - with emotion and attention in every project. Children's book illustration delivered worldwide, wedding and B2B event live painting across Poland - every project starts the same way: an inquiry, a conversation, a decision. Write to me directly. The Bujnowłosa studio is me and a decade-plus of practice.